Propagate Forsythia: Grow More Fast-Growing Yellow Shrubs
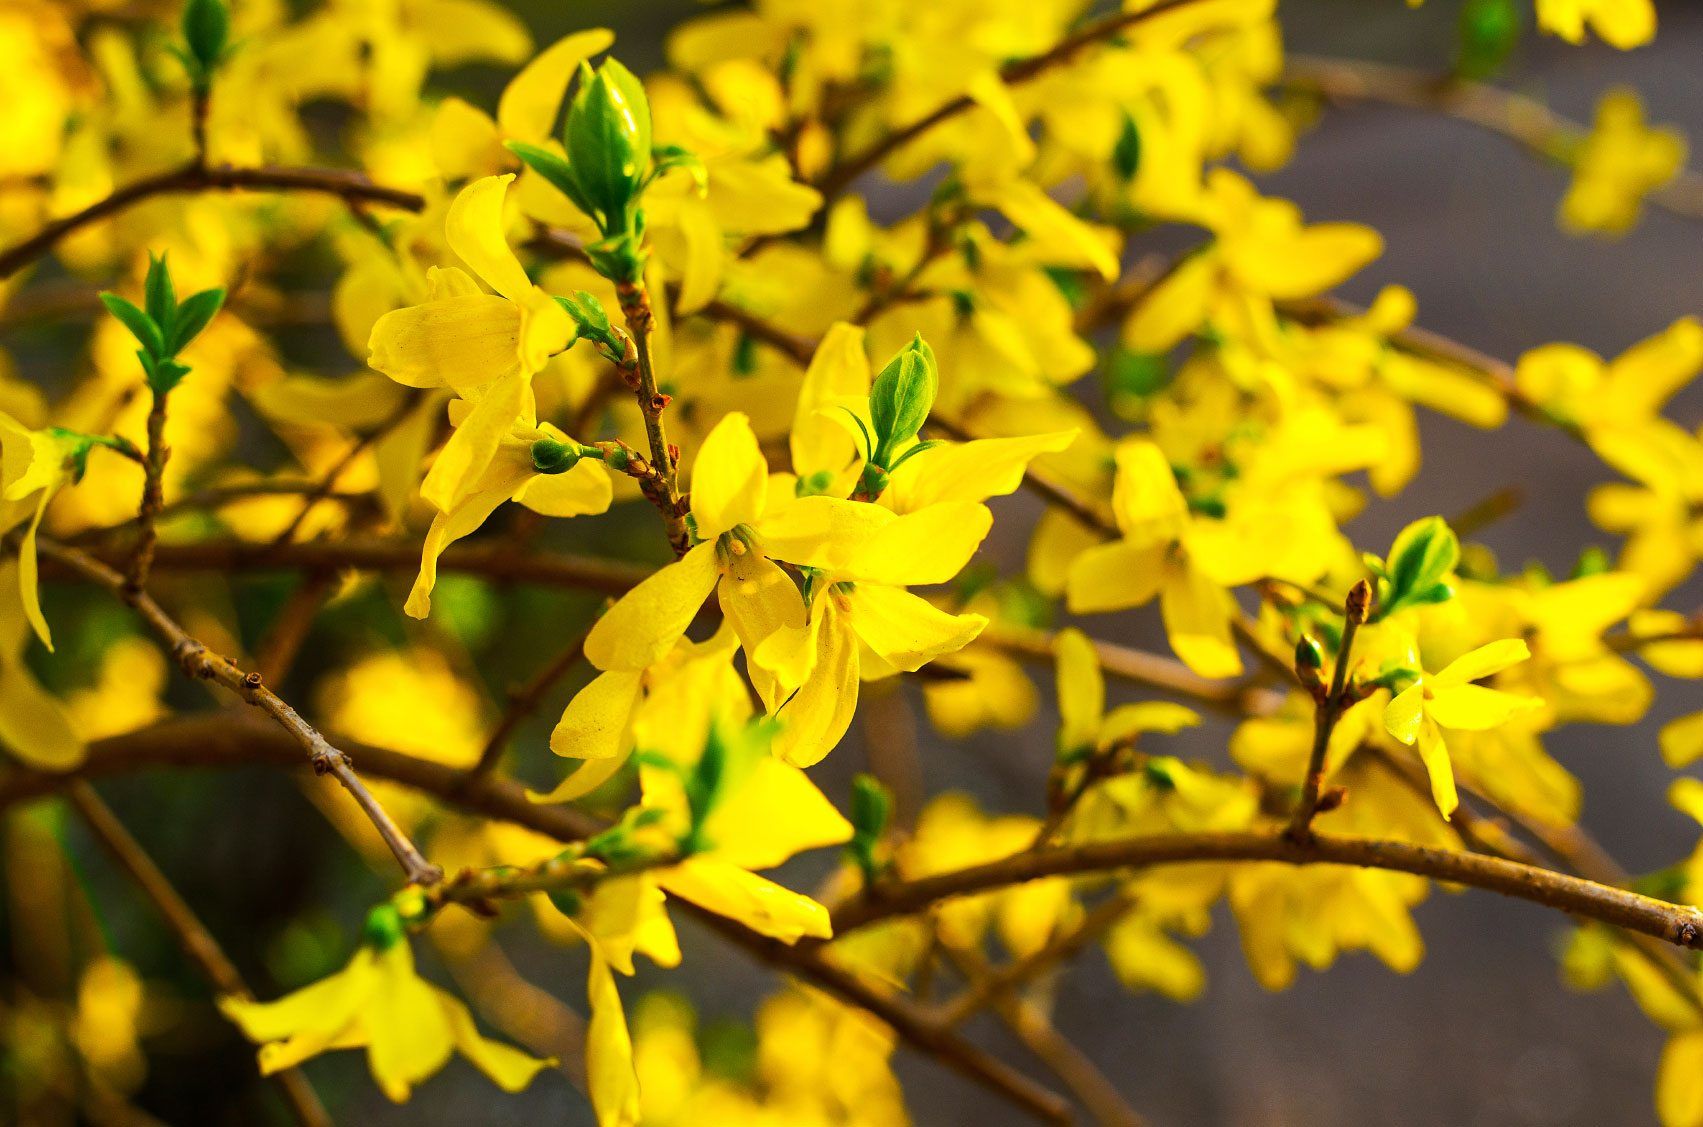
The sight of Forsythia bursting into brilliant yellow bloom is a quintessential sign of spring, a vibrant splash of sunshine after the long winter months. Many gardeners, like the author of our initial reference, find themselves completely captivated by these cheerful, fast-growing shrubs. From a single tiny plant, Forsythia can transform into a majestic, sprawling bush, filling your garden with an abundance of golden flowers year after year. It's no wonder that once you have one, you often find yourself dreaming of more – more golden hedges, more cheerful accents, more of that undeniable spring joy.
The good news is, you don't have to buy every single Forsythia plant you desire. This guide will walk you through the incredibly rewarding and surprisingly simple process of how to propagate Forsythia, allowing you to multiply your beloved yellow shrubs and spread their sunshine throughout your property.
Why Propagate Forsythia? The Golden Opportunity
Forsythia stands out as an ideal candidate for propagation, even for novice gardeners. There are several compelling reasons why multiplying these shrubs from cuttings is not only feasible but highly recommended:
* **Remarkable Hardiness and Growth Speed:** Forsythia varieties, such as 'Northern Gold' (Forsythia ovata) hardy in zones 2-9, are incredibly resilient. They adapt to a wide range of soil types—from well-drained loam to sand, clay, or humus-rich soil—and are known for their rapid growth. You can start with a small cutting and, with proper care, end up with a substantial plant within a year or two.
* **Cost-Effectiveness:** Why purchase new plants when you can create them for free from your existing shrubs? Propagation is an excellent way to expand your garden on a budget, allowing you to create entire hedges or fill large spaces without the expense.
* **Consistent Beauty:** Forsythia offers unparalleled early spring color. Propagating them ensures you can strategically place these vibrant shrubs to maximize their visual impact, creating stunning focal points or continuous borders of yellow. They are also relatively drought-resistant once established, requiring only average watering.
* **Personal Satisfaction:** There’s immense satisfaction in nurturing a new plant from a small cutting and watching it flourish. It deepens your connection to your garden and enhances your gardening skills.
These robust characteristics make propagating Forsythia a highly successful and enjoyable endeavor for anyone looking to add more of these captivating yellow shrubs to their landscape.
Gathering Your Propagation Essentials
Before you dive into the hands-on process, it's crucial to have all your tools and materials ready. A well-prepared workspace makes the propagation process smooth and efficient.
Here's what you'll need to successfully propagate Forsythia:
* **Containers for Cuttings:** You'll need something suitable for rooting your cuttings. This could be a long planter box, several smaller individual pots (around 4-6 inches in diameter), or a seed-starting tray with multiple small sections. Ensure your chosen containers have adequate drainage holes to prevent waterlogging.
* **Potting Mix Specifically for Cuttings:** Look for a high-quality potting mix formulated for starting seeds or rooting cuttings. These mixes are typically lighter, well-draining, and provide excellent aeration, which is critical for root development. Avoid heavy garden soil, which can compact and hinder rooting.
* **Clean, Sharp Pruning Shears:** Sharp shears make clean cuts, which heal faster and reduce stress on the parent plant and the cutting. *Crucially, ensure your shears are clean and sterilized before use.* You can wipe them with rubbing alcohol or a bleach solution to prevent the spread of diseases. A dull or dirty tool can damage the plant tissue and jeopardize your propagation efforts.
* **Rooting Hormone (Powder Form):** While Forsythia can sometimes root without it, rooting hormone significantly increases your success rate. It contains auxins, plant hormones that stimulate root growth. A powdered form is typically easiest to use.
* **A Small Bowl of Warm Water:** This is used to moisten the bottom of your cuttings before dipping them in rooting hormone, helping the powder adhere better.
* **Labels and a Marker (Optional but Recommended):** If you're propagating multiple types of plants or different batches, labels are invaluable for keeping track.
Having these items on hand ensures you can move smoothly through each step of the propagation process, setting your Forsythia cuttings up for the best possible start. For more detailed information on selecting and preparing your tools, check out
Your Guide to Forsythia Cuttings: Timing, Tools, and Techniques.
Timing is Everything: When to Take Your Forsythia Cuttings
One of the most critical factors for successful Forsythia propagation is selecting the right time of year to take your cuttings. The window for optimal success is relatively specific:
* **Ideal Window:** Aim to take your cuttings sometime between **May and early July**.
* **Post-Bloom, Pre-Winter:** This timing is crucial because you want to take cuttings *after* the cheerful yellow flowers have faded and the leaves have fully emerged. At this point, the plant has put energy into leaf production, and the new growth is "softwood" – flexible, bright green, and ideal for rooting.
* **New Growth Identification:** Look for branches that are distinctly new this year. They will be bright green and pliable. Avoid any branches that have started to turn a woody, brown color, as these are older growth (hardwood) and are much less likely to root successfully.
* **Root Development Before Winter:** Taking cuttings in late spring to early summer gives your new plants ample time to develop a strong root system before the colder temperatures of autumn and winter arrive. Strong roots are essential for survival through their first dormant season.
Propagating during this optimal period dramatically increases the chances of your cuttings developing into robust, healthy new Forsythia shrubs.
Step-by-Step: Your Guide to Successful Forsythia Propagation
With your materials gathered and the timing just right, you're ready to dive into the hands-on process of propagating your Forsythia. This method focuses on softwood cuttings, which are the easiest and most effective for this shrub.
1. **Prepare Your Potting Mix:**
Before you take any cuttings, fill your chosen containers with the potting mix. Lightly moisten the mix, ensuring it's evenly damp but not waterlogged. It should feel like a well-wrung-out sponge. If you're using fresh potting mix straight from the bag, it often comes pre-moistened to the perfect consistency.
2. **Take Your Cuttings:**
Head out to your established Forsythia bush. Using your clean, sharp pruning shears, carefully select and cut pieces of **new growth** from this year. These branches will be bright green and supple. Aim for cuttings that are **four to six inches in length**.
* *Pro Tip:* To ensure you have enough viable plants, cut about twice as many branches as the number of plants you ultimately desire. Not every cutting will root, and it's better to have extras than to have to wait a full year to try again.
3. **Prepare Cuttings for Rooting:**
Bring your cuttings indoors or to a shaded workspace.
* **Remove Lower Leaves:** Gently strip off any leaves from the bottom two inches of each cutting. This prevents the leaves from rotting when buried in the soil and encourages the cutting to focus its energy on root production rather than leaf maintenance.
* **Dip in Warm Water:** Briefly dip the leafless end of each cutting into a small bowl of warm water. This helps to hydrate the cutting and allows the rooting hormone to adhere better.
* **Apply Rooting Hormone:** Immediately after the water dip, carefully dip the bottom two inches of the cutting into the rooting hormone powder. Ensure the entire bottom portion is thoroughly coated. Gently tap off any excess powder.
4. **Plant Your Cuttings:**
Using your finger, a pencil, or a small dibber, create a small hole in the pre-moistened potting mix for each cutting. Insert the prepared cuttings into the holes, ensuring the portion coated with rooting hormone is completely buried. Gently firm the soil around each cutting to ensure good contact between the cutting and the potting mix.
* *Don't worry about drooping!* It's common for cuttings to look a bit droopy or wilted shortly after being clipped. This is normal and they often perk up within a few hours once they've had a chance to absorb some moisture.
5. **Initial Care and Environment:**
Place your planted cuttings in a location that receives bright, indirect light. Avoid direct, scorching sunlight, which can stress the tender cuttings. To maintain humidity, you can lightly mist the cuttings daily or cover the container with a clear plastic dome or bag (propped up to allow some air circulation). The goal is to keep the soil consistently moist but never soggy.
Nurturing Your New Forsythia Plants
The journey from cutting to established shrub requires a bit of patience and consistent care.
* **Maintaining Moisture:** Keep the potting mix consistently moist. Check the soil daily, and water gently when the surface begins to feel dry. Avoid overwatering, which can lead to rot.
* **Root Development:** Roots typically begin to form within several weeks to a couple of months. You can gently tug on a cutting to test for resistance; if it feels anchored, roots are forming. You might also see new leaf growth, which is another good sign.
* **Hardening Off:** Once your cuttings have developed a robust root system (usually indicated by new, sustained top growth and resistance when gently tugged), they’ll need to be "hardened off" before being transplanted outdoors. This process gradually acclimates them to outdoor conditions like wind, sun, and temperature fluctuations. Over a week or two, gradually increase the amount of time they spend outdoors in a sheltered spot, moving them into more direct light and wind each day.
* **Transplanting:** After hardening off, your young Forsythia plants are ready for their permanent home in the garden. Choose a location with full to partial sun exposure and well-drained soil. Dig a hole twice as wide as the root ball and just as deep. Carefully remove the plant from its container, loosen any circling roots, and place it in the hole. Backfill with soil, gently firming it around the roots, and water thoroughly. For a comprehensive guide on this process, consider reading
Unlock Endless Yellow Blooms: Propagate Forsythia from Cuttings.
* **First Winter Protection:** For their first winter, especially in colder hardiness zones, it’s wise to provide some extra protection for your young Forsythia plants. A layer of mulch around the base can insulate the roots from extreme cold.
By following these steps, you'll soon be enjoying a burgeoning collection of vibrant Forsythia, each one a testament to your gardening skill and the sheer joy these magnificent yellow shrubs bring. The satisfaction of growing an entire golden display from just a few clippings is truly unparalleled.